项目说明:
本demo主要是基于springboot基础框架,在指定时间优先判断是否已存在指定Key值的数据,存在则删除,再通过webmagic技术爬取官网上的新闻数据,通过Redis的set(集合)数据类型进行去重处理存入Redis中。最后打包成镜像发布至Docker;
技术栈:
| 技术 | 说明 | 链接 |
|---|---|---|
| SpringBoot | 基础框架 | https://spring.io/projects/spring-boot |
| Webmagic | 基于Java开发的爬虫框架 | http://webmagic.io/ |
| Reids | 基于内存的Key-Value数据库 | https://redis.io/ |
| Lombok | 自动接通你的编辑器和构建工具的Java库 | https://projectlombok.org/ |
| Docker | 开源应用容器引擎 | https://www.docker.com/ |
前期准备:
安装Docker,运行Redis容器。对Docker不熟悉的可以查看Docker基本命令(一)、Docker基本命令(二)。
相关依赖:
1 | <parent> |
搭建流程:
1.编辑配置文件application.yml
1 | spring: |
2.新建爬虫模块实体类,并实现序列化。如果不实现序列化,是无法存入Redis中。
1 |
|
3.编写爬虫执行类,这里先看一下Webmagic的总体架构图。
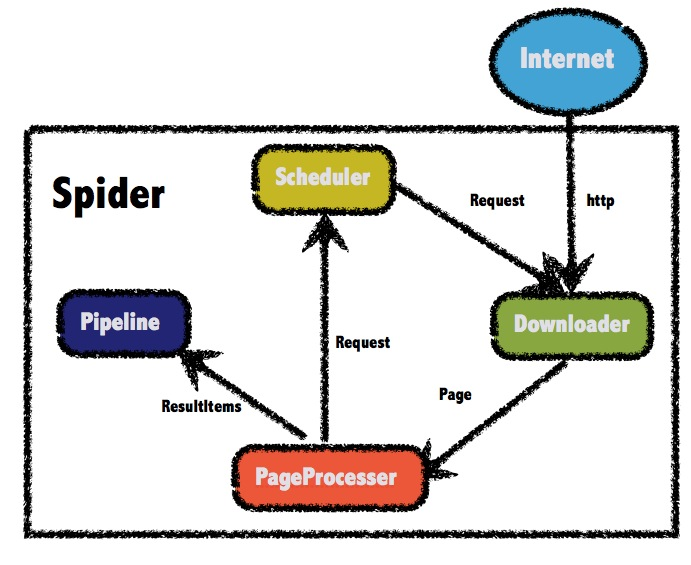
开始编写执行类,这里需要实现PageProcesser接口的process方法和getSite方法。process方法主要是做一些页面的收集,在此你需要先找到详情类地址和列表页地址的区别,建议使用正则表达式匹配,详情页获取具体的数据可以使用css、xpath、正则等表达式进行匹配,这里建议每写一条语句都进行一次Debug,以确保数据的准确性。最后通过page属性的putField(Key, Value);方法暂存。执行方法中配置线程、数据处理类型等信息。这里注意类上记得加上@Component等注解将该类添加进Spring容器!!
1 |
|
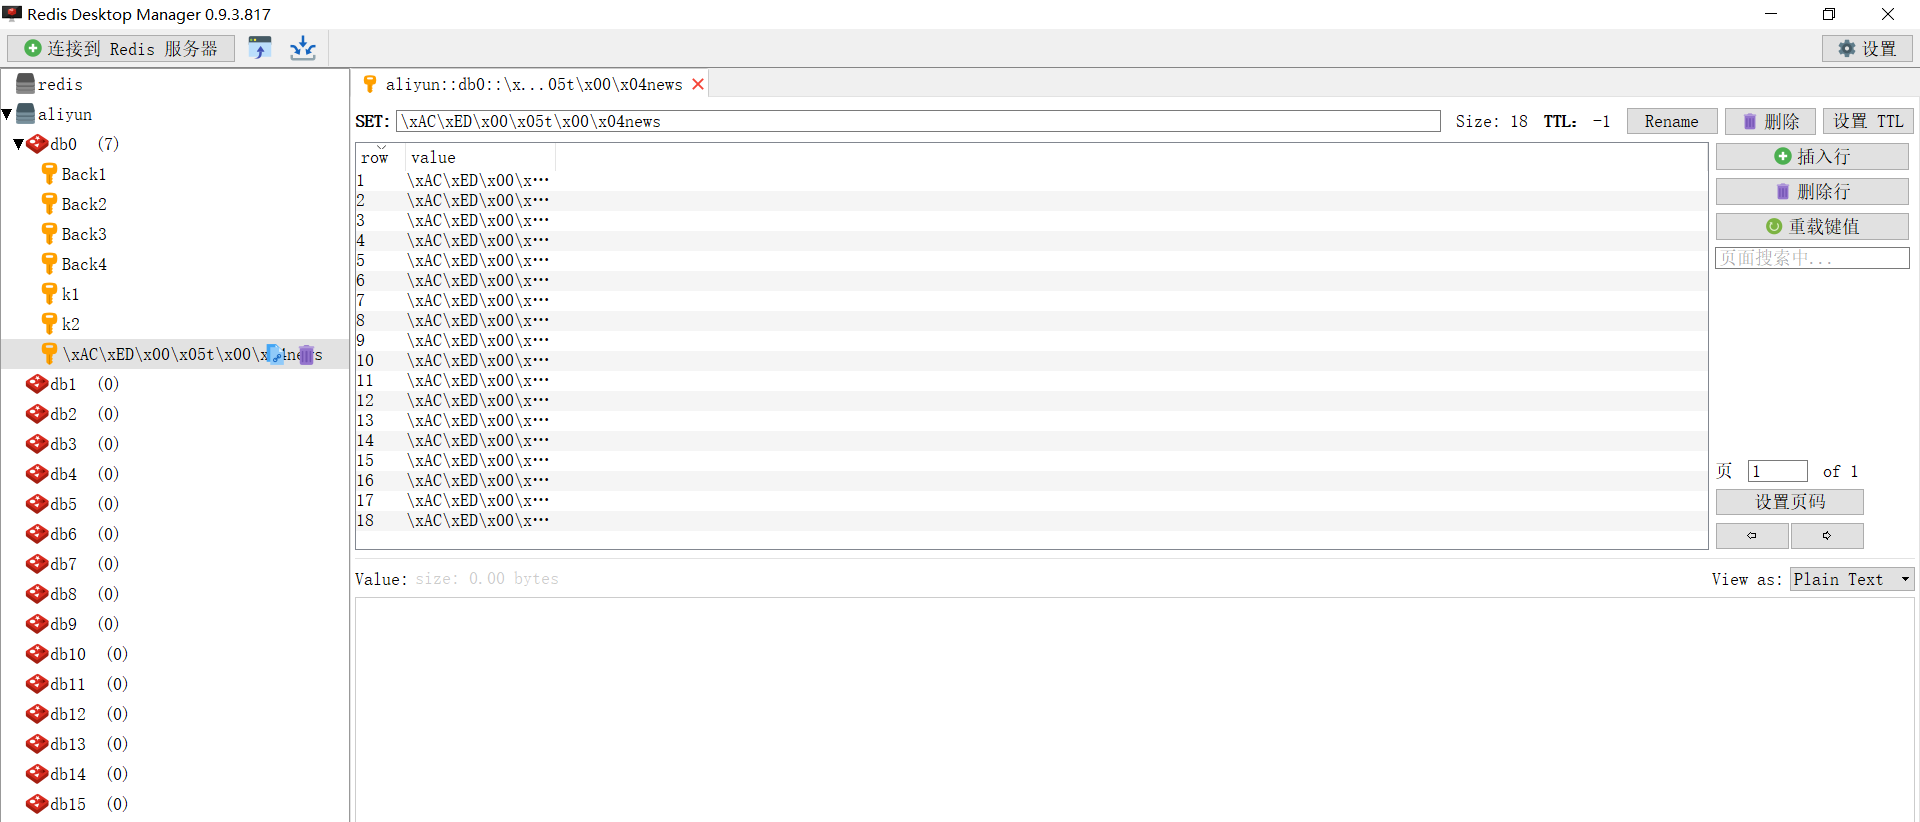
4.编写爬虫数据处理类,首先实现Pipeline接口的process方法,通过resultItems的get方法取出执行类中process方法通过putField方法放入的数据,并使用RedisTemplate类进行Redis的插入处理,使用他的opsForSet().add(key, value)方法进行集合方式数据添加。Mysql存储同理。同样记得添加@Component等注解,否则无法自动注入。
1 |
|
5.使用注解开启定时任务,在启动类上添加@EnableScheduling注解,爬虫执行方法上添加@Scheduled注解。如对springboot的定时任务仍存在疑虑可以查看我的另一篇博客SpringBoot定时任务。
1 |
|
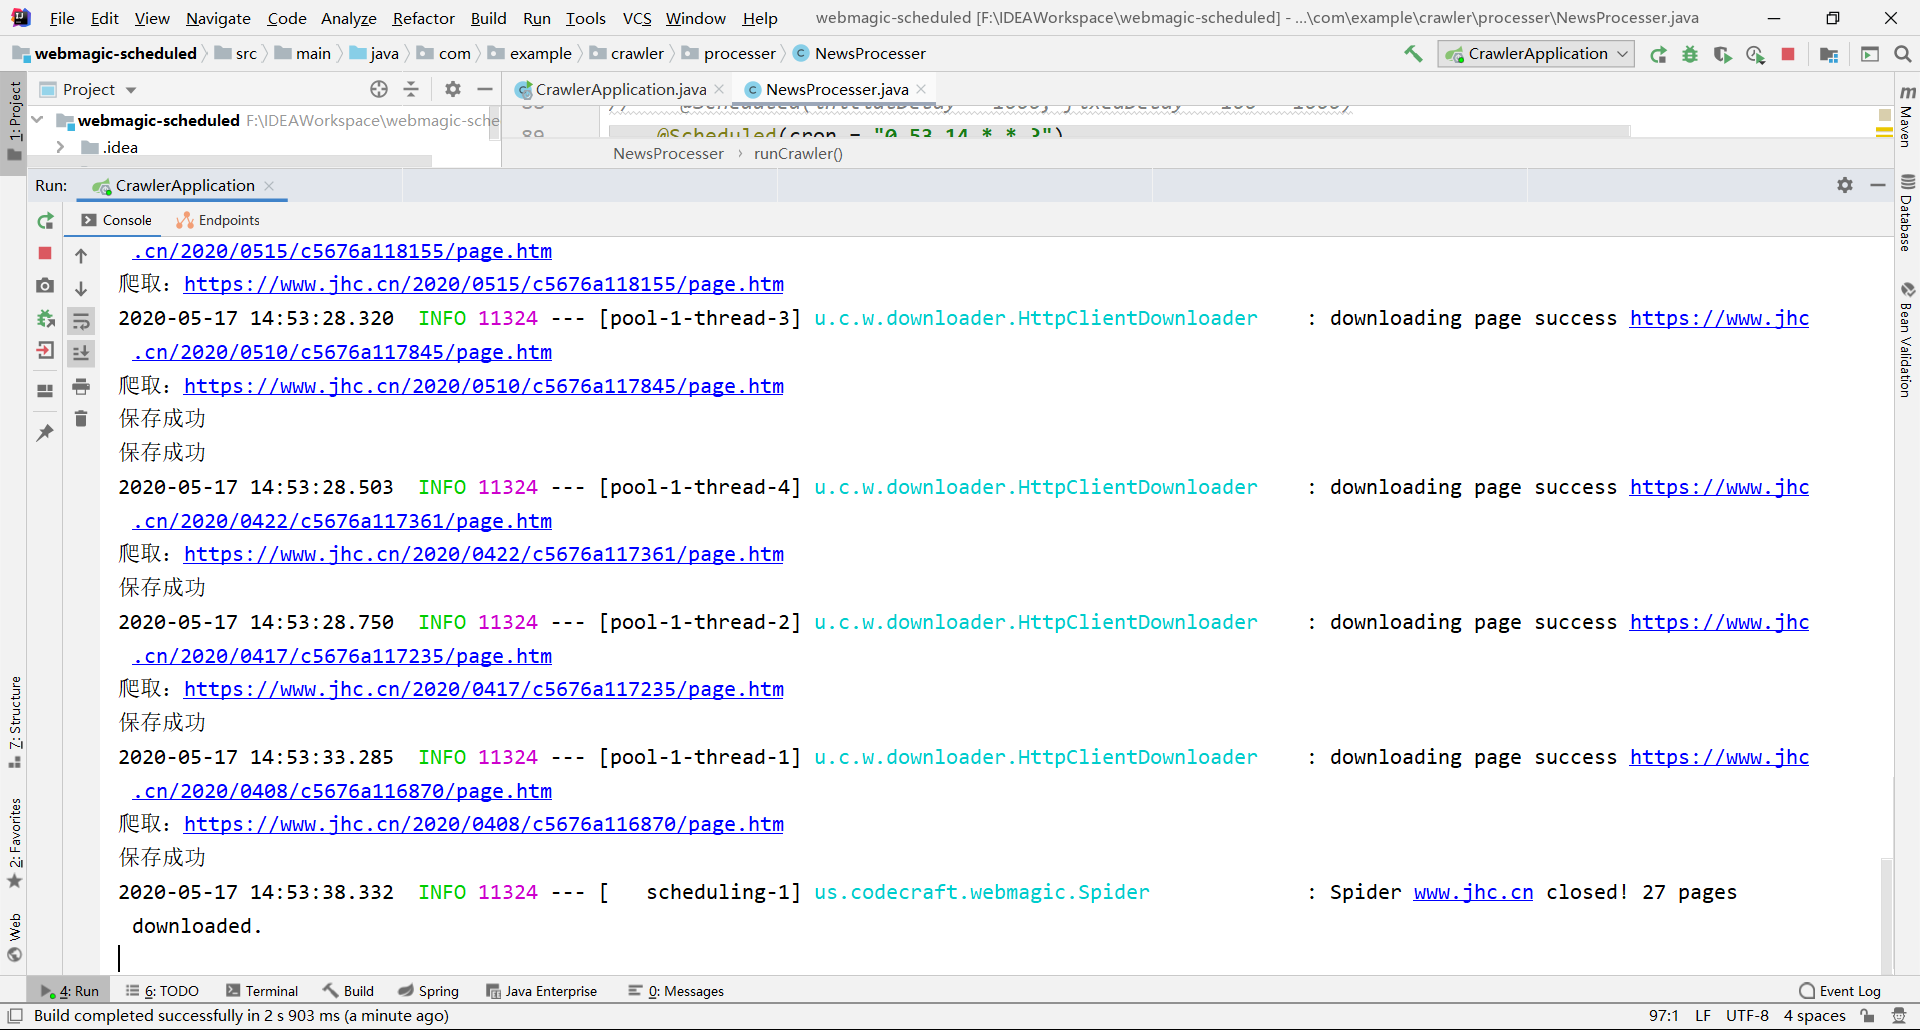
执行效果
6.将项目打成jar包,编写DockerFile。
1 | FROM java:8 |
然后将其上传到服务器上。

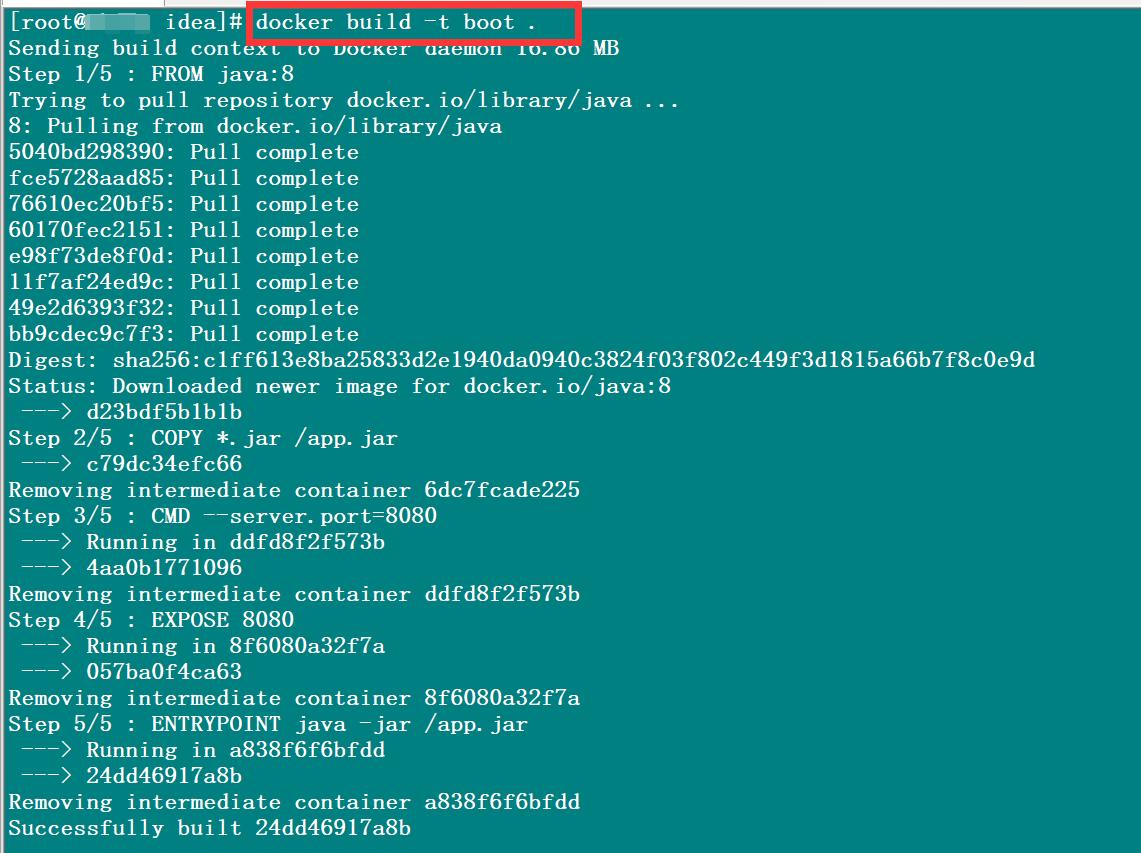
执行以下命令,将其打成镜像
1 | docker build -t 镜像名 . |
查看所有镜像

运行springboot容器
1 | docker run -d --name 容器名 -p 暴露端口号:映射端口号 boot |

查看效果