依赖:
只需导入Springboot
操作过程:
1. SpringBoot启动类类上添加@EnableScheduling注解,开启定时任务
1 |
|
2.在方法上加上@Scheduled,以及括号内cron表达式,注意一定一定不要忘记将类加入到spring容器中,例如:以下代码所示将在执行每天的11:40分执行
1 |
|
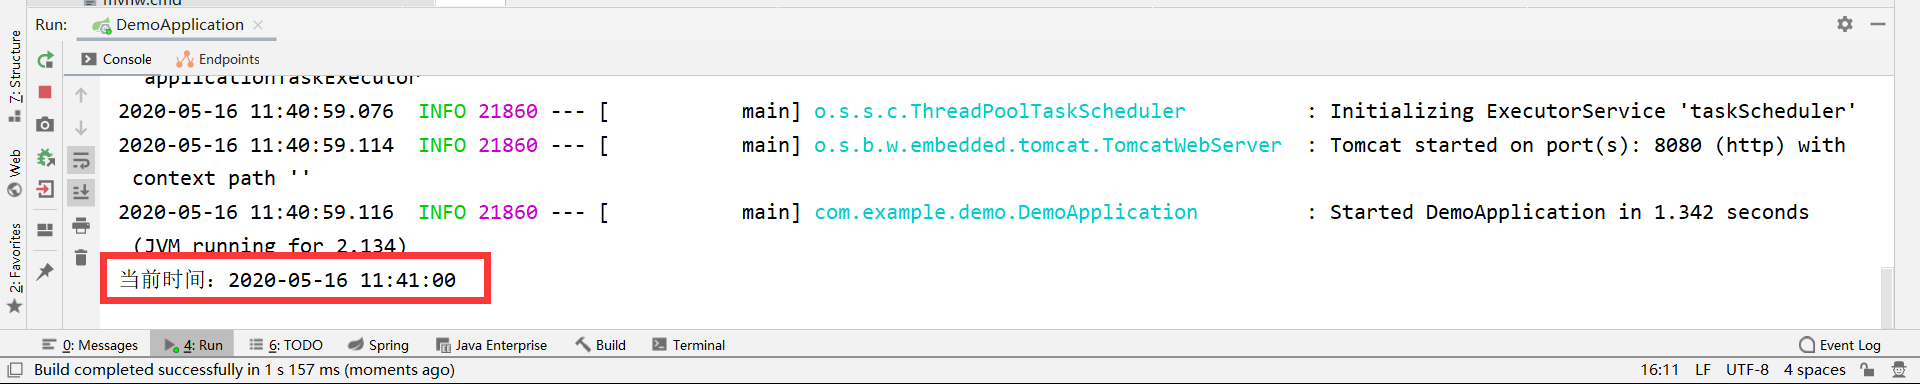
效果图:
扩展:
@Scheduled注解的参数有两种形式:
1.initialDelay(程序启动后几毫秒后执行)、fixedRate(上一次开始执行后几秒开始执行)、fixedDelay(上一次执行完成后几秒开始执行)。例如:以下代码所示为启动后1秒执行,方法执行完成后间隔100秒继续执行
1 | (initialDelay = 1000, fixedDelay = 100*1000) |
2.cron表达式:
【秒 分 时 日 月 周】
【0 0 0 * * ?】 每天0点整
【0 1,2 0 * * ?】 每天0点1、2分
【0 0 0 * * Mon-Fri】 每天0点整
1 | (cron = "0 41 11 * * ?") |